Affordable Honda Brake Repair & Rotor Replacement in Sioux Falls, SD
Own a Honda in Sioux Falls? Skip the dealership. Direct Brakes brings mobile Honda brake repair and battery replacement directly to your home or office. Accord, Civic, CR-V, Pilot, Odyssey—we service them all with same-day appointments available.
Looking for Honda brake repair near me or Honda battery replacement in Sioux Falls? You've found the smarter alternative to expensive dealership visits. Direct Brakes is the Sioux Falls area's premier mobile auto repair service, specializing in brake systems and battery service for all Honda models.
Honda is renowned for building reliable, long-lasting vehicles—and South Dakota drivers know it. Whether you drive a fuel-efficient Civic for commuting, a CR-V for family adventures, or a Ridgeline for light-duty work, your Honda deserves expert brake service from technicians who understand Honda's engineering.
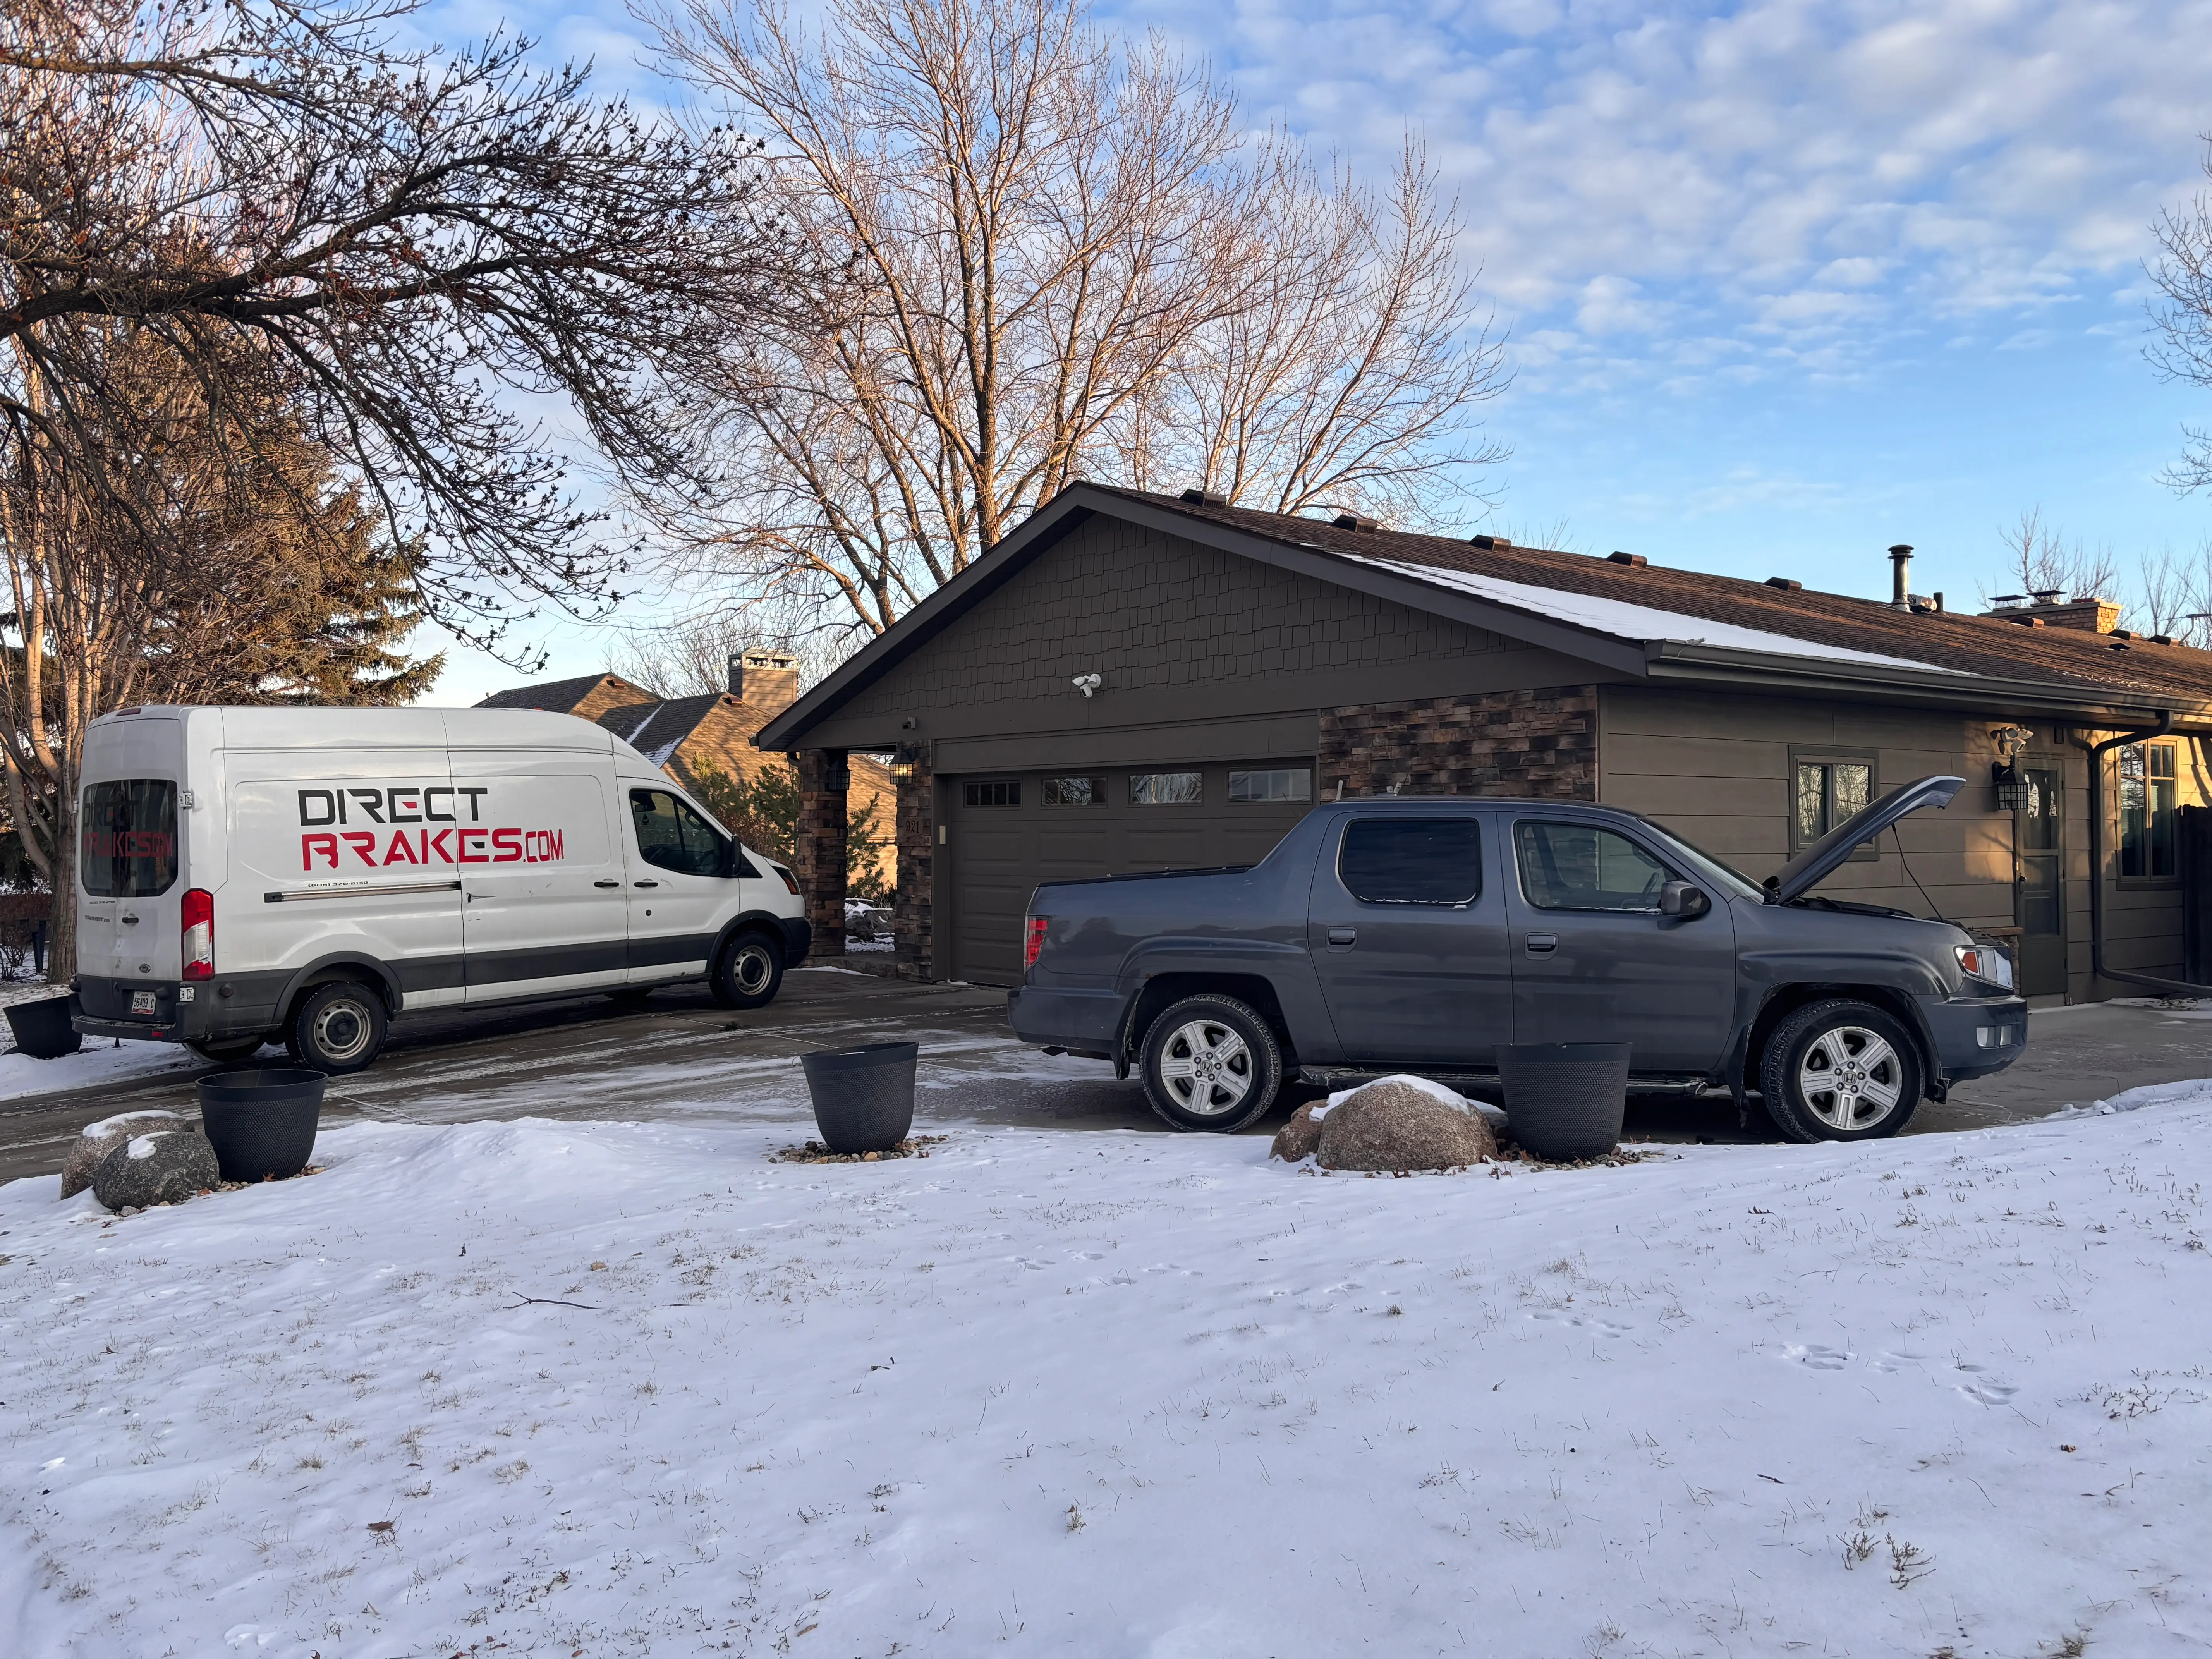
Why sit in a dealership waiting room when we can service your Honda while you're at home or work? We bring all the necessary equipment, OEM-quality parts, and expertise right to your location. No tow truck needed. No inconvenient drop-offs. Just professional mobile Honda service on your schedule.
We serve Honda owners throughout Sioux Falls, Brandon, Tea, and Harrisburg. Call (605) 376-2130 for a free quote on your Honda brake or battery service.